Adventures in moulding.

SG-1 Replicator
I’ve been wanting to give resin casting a try for quite a while now, and decided to start with something fairly simple that I’d need a lot of to get some practice in. The perfect thing was replicator blocks from Stargate SG-1. These are made from hundreds of little blocks, and a few people have these for sale on Shapeways. I ordered a few of them as originals, along with a starter moulding kit from Easy Composites. The kit is quite good, and comes with most things that you’ll need to do simple moulds. The only extra things that I ended up getting was some clay and mould release, but that was because I was going to be doing a two part mould.

Moulding and casting starter kit
It would be a waste of time going through the whole process of making moulds as there are plenty of tutorials and youtube videos on the various techniques. I just followed some of them, but I did learn a few things along the way.

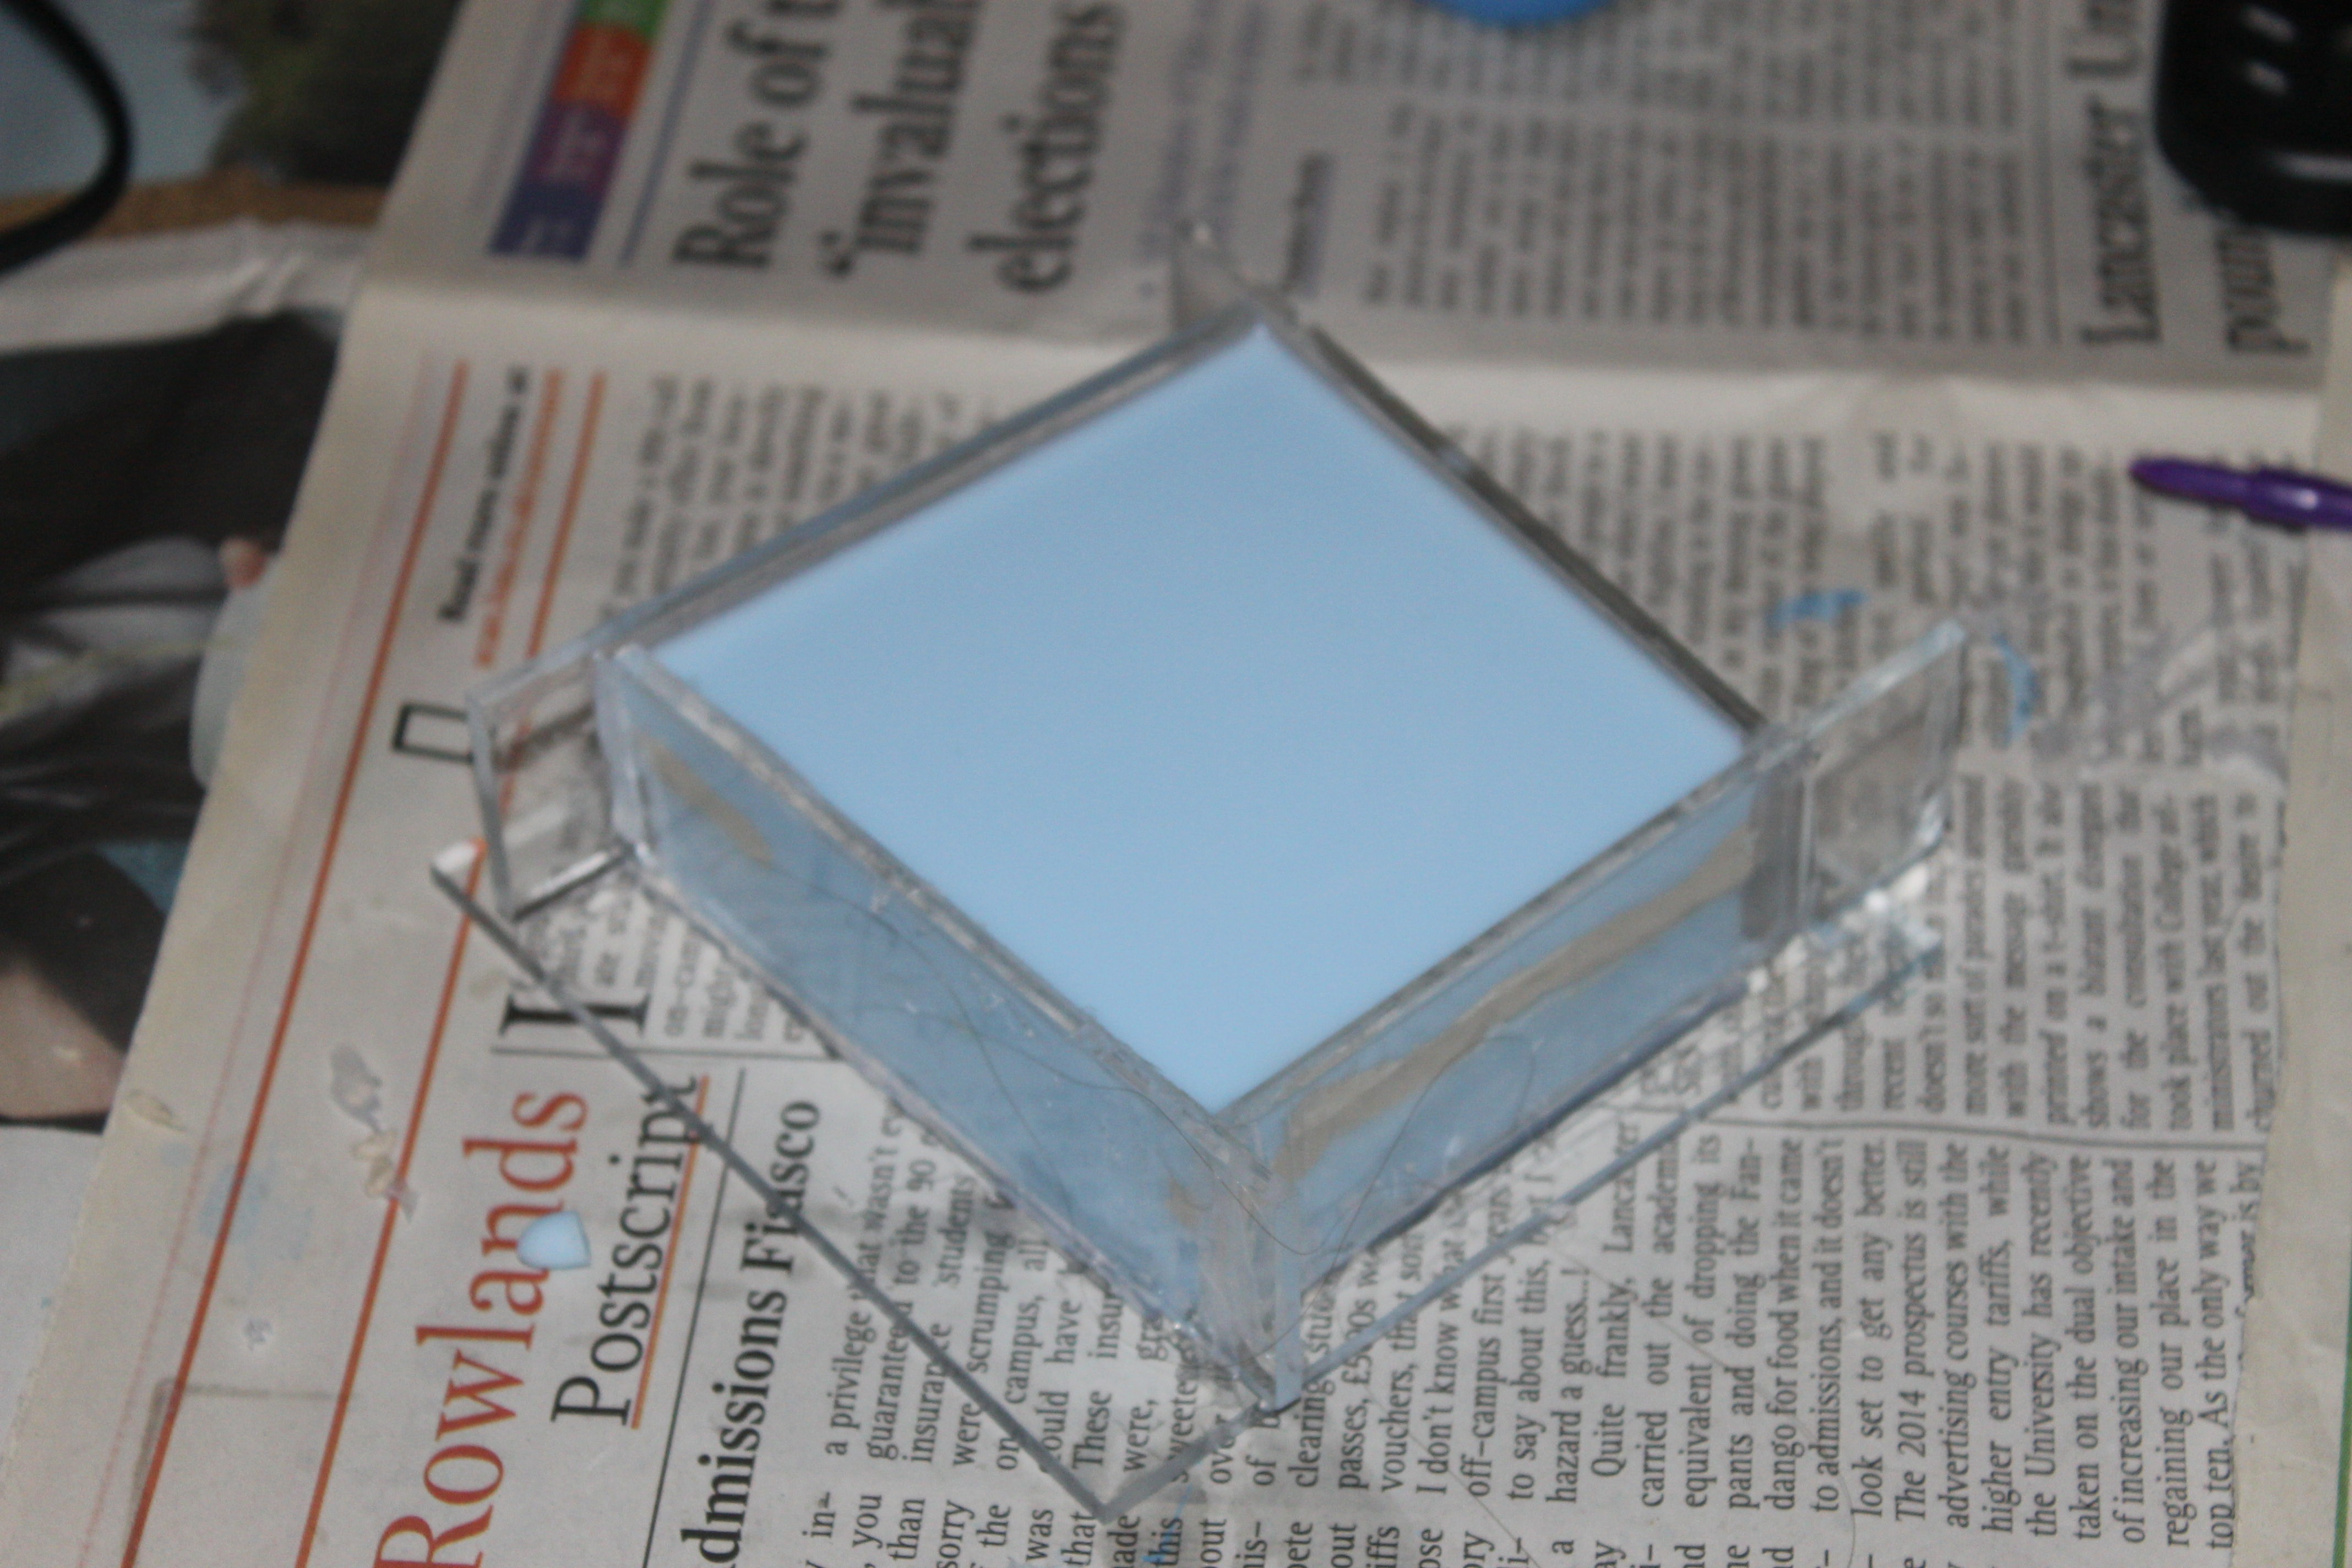
Making a mould box

Base layer of clay in the box
Pressed the blocks into the clay and made sure the edges were clean

First half with the silicone poured in, waiting to set.
First half set and deboxed
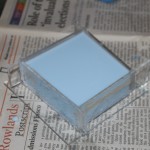
Reboxed. and second half poured.
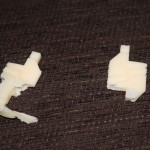
Right one turned out ok with a few air pockets. I ran out of resin on the left one.
With the mould done, I did my first attempt at casting. Whilst it didn’t turn out particularly well, it wasn’t the great big mess I was expecting. I hadn’t taken into account the amount of spillage when I poured into the mould, mainly due to the small entry point, so ran out of resin on the second block.
I’m going to remake the mould now, taking into account a few things that I learnt on the way, along with some tips from experts.
- Make the mould box differently. I used acrylic and a hot glue gun which made it very hard to dismantle. I think I’ll use clay for my next one as I should have enough of it.
- Do the base of the mould first, and press the parts into it before making the box round it. Was difficult to get in to make a clean seam.
- Don’t make the key marks for the two moulds too deep. I did stupidly small deep holes first time, and it made it very hard to pull the mould apart, which leads to….
- Use more release agent when pouring the second half of the mould.
- Make the fill area bigger, and it needs vents to allow the air to come out. It has also been suggested to use an injection technique with a syringe to force the resin into the gaps.
- Make more resin than I think. Its also hard to make small batches, so my next mould might incorporate all four blocks I got from shapeways.
If I get the next one working well enough, it’ll be a production line I think. By my calculations, I’ll need about 200 blocks to make a standard replicator. I’ve also ordered some metal powder to use in the moulds to give the finished blocks a metallic look, along with some black and dark grey pigment which will hopefully mean less painting of the finished product.
More power! | 22BalmoralRoad
[…] been a long time since an update, but we moved house at the start of the year and things have been hectic. At least, thats my excuse […]